When working on iOS apps, an important topic for every developer is UIKit (and of course increasingly SwiftUI in the future). I have made a short Cheatsheet for the most important topics I came across quite often during iOS development with UIKit.
This article deals with tricks for UINavigationBar.
To prevent the navigation bar title to be displayed too large, which may not look good, largeTitleDisplayMode can be set:
navigationItem.largeTitleDisplayMode = .never
A navigation bar button item can be added as follows:
navigationItem.rightBarButtonItem = UIBarButtonItem( title: "Navigation Item", style: .plain, target: self, action: #selector(didTapDismiss))
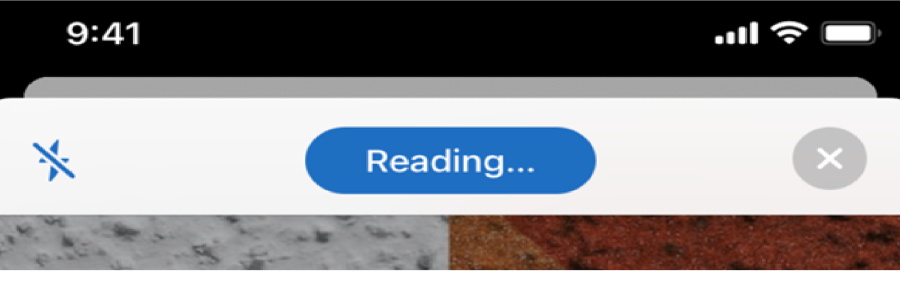
A navigation title view with customized font, text, colors, constraints etc., can be added as follows (this code sets a customized label, that is shown in the header image):
private func setupNavigationTitleView() {
        let frame = navigationController?.navigationBar.frame ?? CGRect.zero
        let titleLabel = UILabel(frame: frame)

        titleLabel.text = title
        titleLabel.textAlignment = .center
        titleLabel.font = UIFont.systemFont(ofSize: 15, weight: .medium)
        titleLabel.textColor = themeColors.primary.tintColor
        titleLabel.backgroundColor = themeColors.primary.fillColor

        titleLabel.lineBreakMode = .byWordWrapping
        titleLabel.widthAnchor.constraint(equalToConstant: titleLabel.intrinsicContentSize.width + 48).isActive = true
        titleLabel.heightAnchor.constraint(equalToConstant: titleLabel.intrinsicContentSize.height + 12).isActive = true

        titleLabel.layer.roundCorners(16.0)

        navigationItem.titleView = titleLabel
    }